Disclosure: This post contains affiliate links from Amazon and other affiliates. We may get paid if you buy something or take action after clicking one of the photos or links below. As an Amazon Associate I earn from qualifying purchases. See our full Disclosure Policy here.
I don’t pretend to be a photographer. I’m absolutely not the best person at taking photos. I’m totally a beginner. I like to use my camera on my iPhone for most of my pictures because it is lightweight and simple. So, I had to do a lot of research on how to photograph the Northern Lights. Plus, I had some help from Gareth with Adventure by Design.
When I first photographed the Northern Lights, I felt like my photos were too “grainy” as they say. Still, I was more than happy with myself for capturing anything that looked like the Aurora.

On a trip to Lapland, I wanted better photos. I wanted the crisp, detailed photographs of the Northern Lights that I had seen on the Internet.
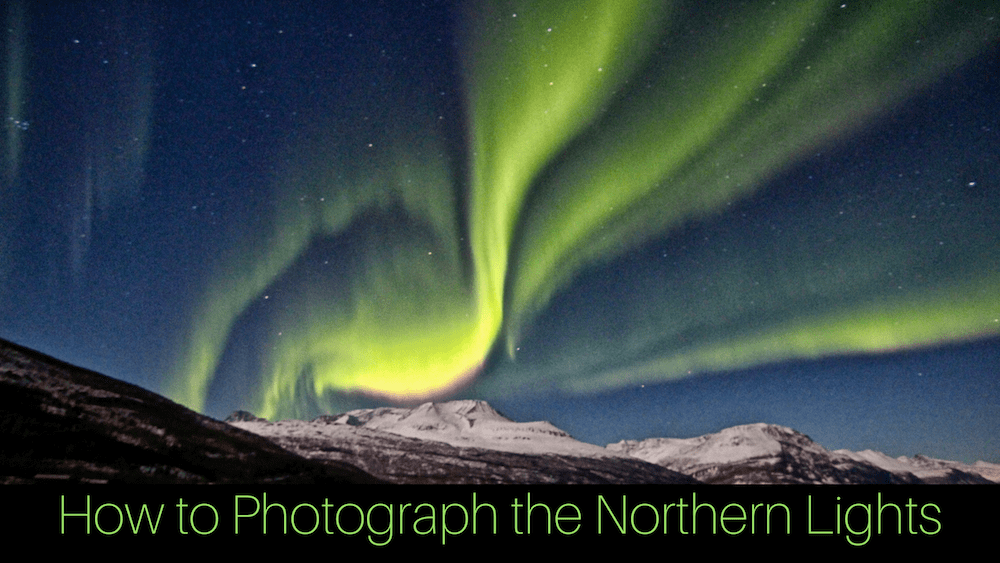
I finally got a good photograph of the Northern Lights (no editing below). Here’s how I did it:

- Find a dark, clear sky with no light pollution and land features like a mountain range, building, or a tree.
- You need a wide angle lens I used the Tokina 11-16mm f/2.8 camera lens.
- Check to verify that manual focus is on. I couldn’t figure out why my camera wasn’t taking photos. All I had done was move it from inside to outside. Turns out, I had accidentally moved it to auto focus.
- Make sure your camera lens is focused to infinity.
- Make sure you are photographing RAW versus JPEG.
- The camera must be set for either a time release (2 seconds) or use a remote to avoid shakiness.
- Set camera to manual.
- Set white balance to auto, or if there is a full moon, sunlight.
- Settings: ISO- 1600, F-between 2-4 (I used 2.8)
Shutter:
Start shutter speed at 4 seconds if the Aurora is active and make your way up to 10 seconds as necessary. If the Aurora is lazy, set the shutter speed from 15 seconds up to 30 seconds.
Make sure you have a tripod. An unsteady camera makes for blurry photos. Also, make sure to turn off lens stabilization.
After taking a photo, zoom in to see how sharp the stars are and focus accordingly.
Remember:
If you increase the ISO because the photo is too dark, you must also make the shutter speed longer. If you change one, you must alter the other.
Make sure to bring extra batteries because the cold makes them die quick.
Chris managed to capture the Northern Lights on his iPhone 8. I didn’t even know that it was possible, but he proved it was.


Leave A Comment